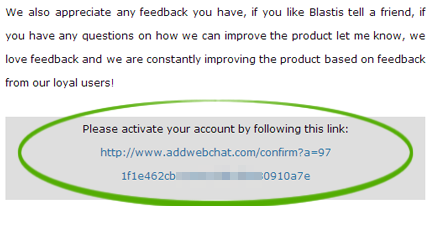
If you haven’t already, please go ahead and register then click on the link provided in the email you will receive to confirm your registration.
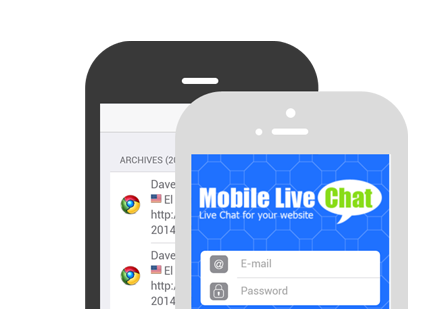
Choose your platform then install the app and login using your credentials


Go to addwebchat.com or click on the login button and login using your credentials.
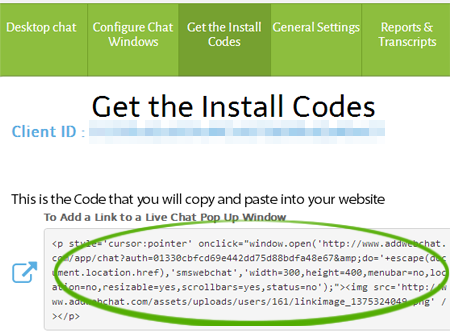
Click on the “Get Install Codes” button on the top, then copy the code (ctrl+c) highlighted on the right. To add a footer chat simply copy the third code in the list. You can have multiple chat types on a single page.
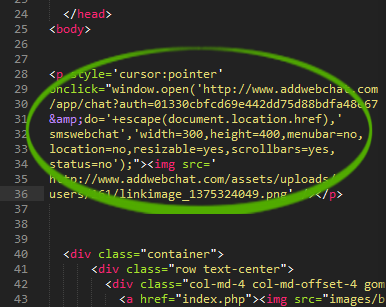
For the “Popup Window Chat” paste the code where you want the chat link to appear.
For the “Footer Chat” paste the code anywhere on the page after the opening
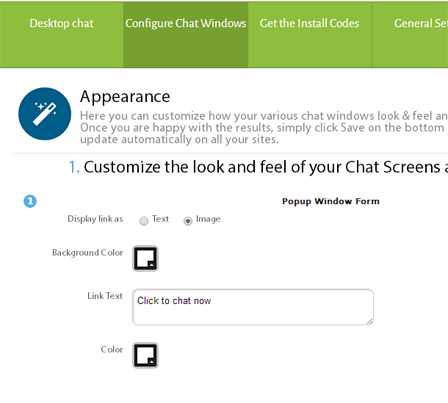
To configure the appearance of your chat windows, messages, and default texts, simply go back to the dashboard and click on “Configure Chat Windows” on the top. Once you’re happy with the changes, simply click Save at the bottom of the page.
Start your app on your phone or keep a browser window open in your dashboard and start answering your customer’s questions.